One Handed Video Gaming
One Handed Video Gaming
AUGUST 11, 2019
Affordable solution for people with one arm handicaps or disabilities
We recently converted our in-office arcade video game machine away from Windows to run on a Raspberry Pi with RetroPie. While we were working on that project, we wondered if there was a way that video games could open back up to people with hand and arm disabilities. If you think about most video games that you play on your XBox One or PS4, they require two hands, but not for any particular reason in the game itself. The controllers are two handed. Ben Heck has previously hacked an Xbox One controller to work with one hand, but they are time intensive and therefore expensive. We wondered if we could open up the old school video games to one handed use.
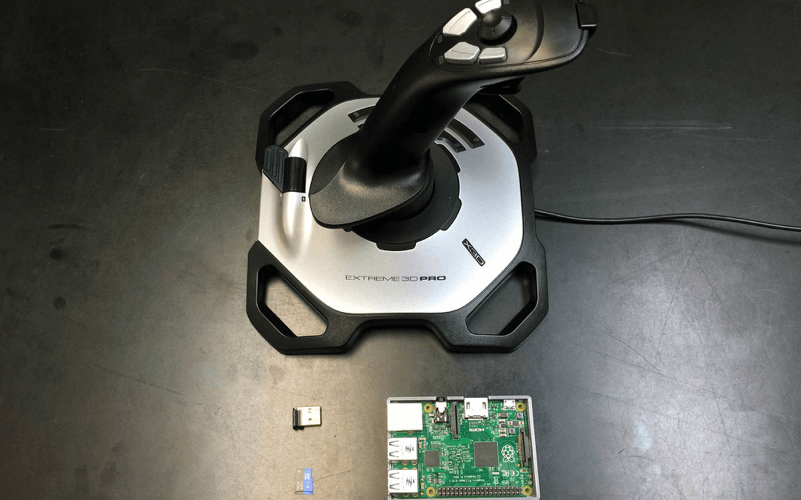
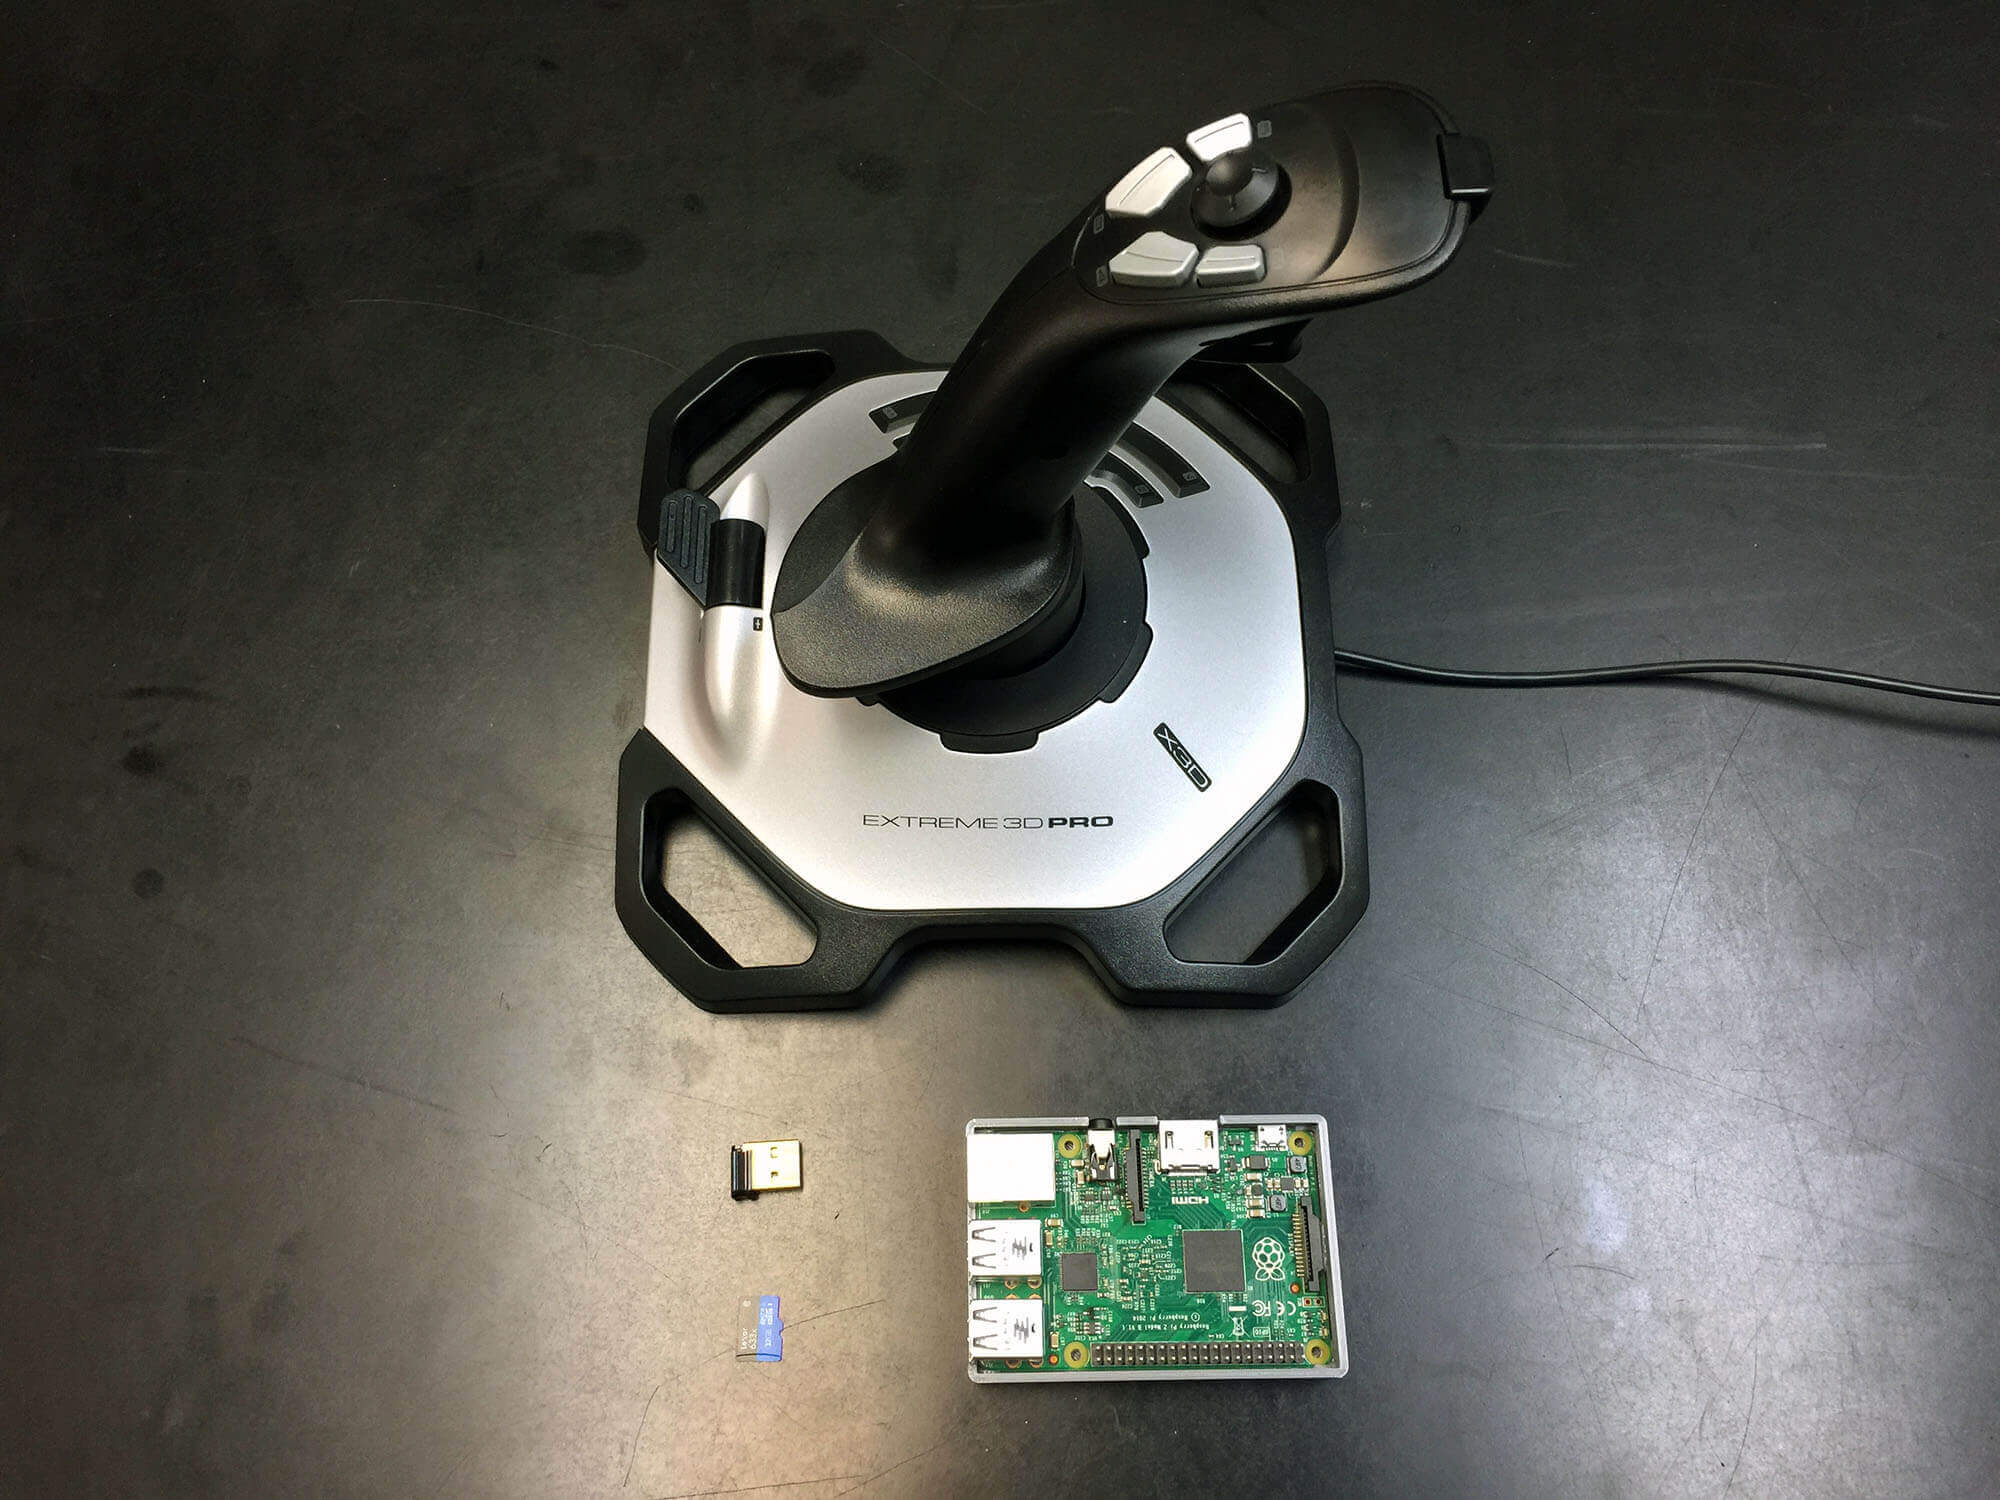
Here is what we figured out with some trial and error. For less than $100, you can build your video game machine that plugs into your TV directly. All parts are available on Amazon or Adafruit (our favorite electronics maker warehouse). There are the three pieces to make your video game machine.
Logitech Extreme Pro Joystick ($32.02)
The joystick is the star of the show in this build. Even though flight joysticks like this aren’t used much outside of flight simulators, it has an amazing ability to be a great flexible input device when it comes to physically challenged users. The number of buttons that are available on one hand make it a perfect gaming device and the weight of the joystick, keeps it from sliding off the table when pushing it around.
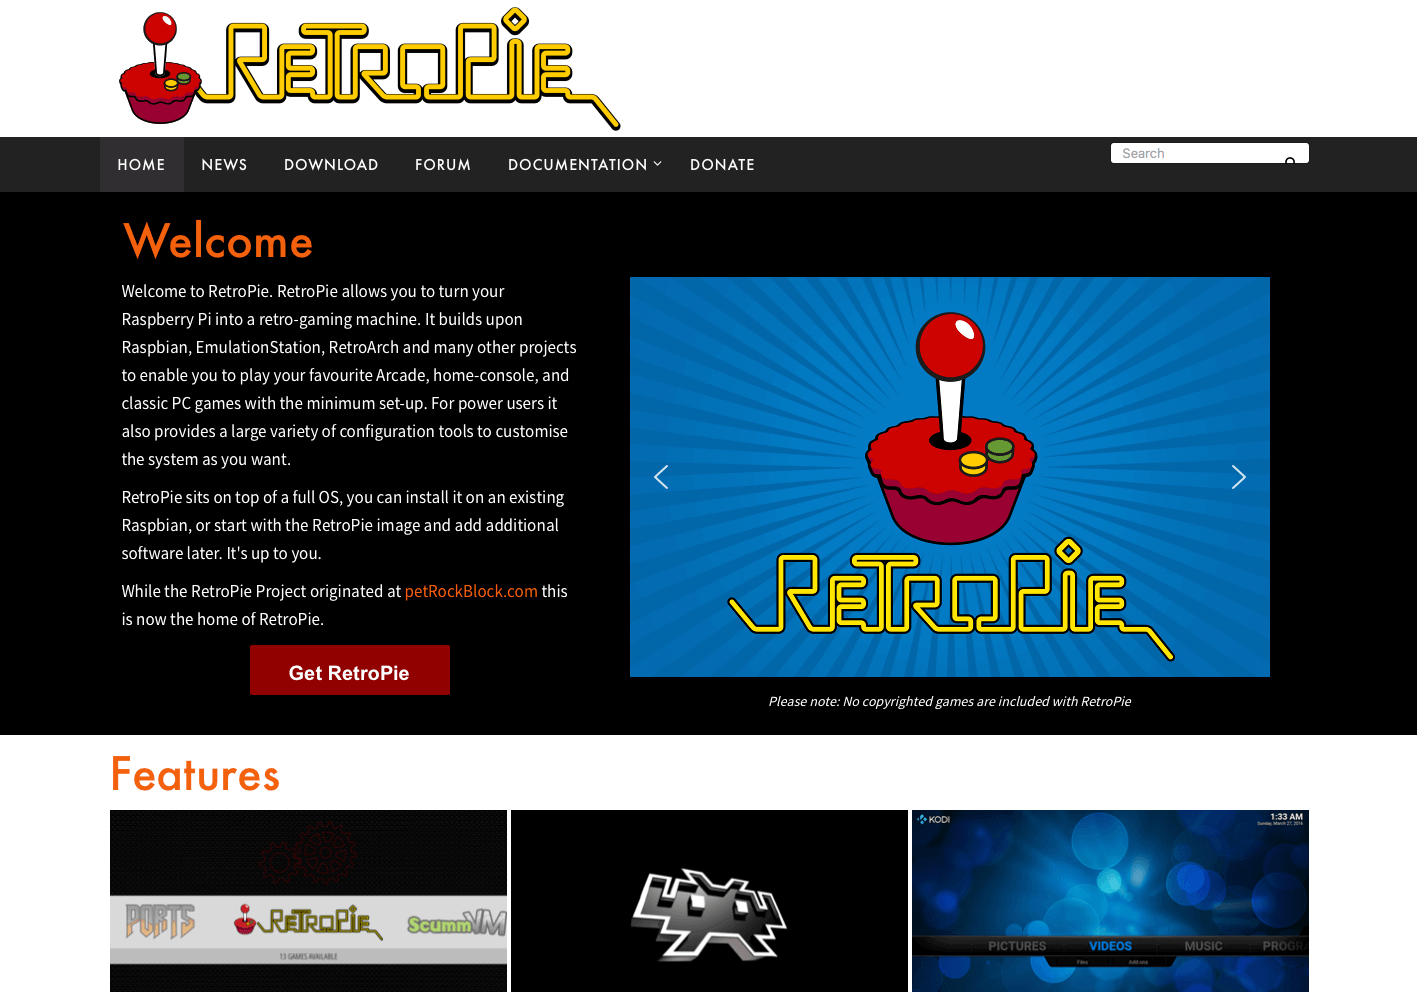
Once you’ve acquired all of the hardware above, you need to download and setup the operating system that will run on the Raspberry Pi. The build we love the most is RetroPie. It’s a super flexible open source gaming platform that makes it easy to run game emulators from one interface. One of the added benefits of using RetroPie is that several old school games built-in (Doom, Quake, Super Mario Party), and you can find and install ROMs of any of your favorite old games from other places on the internet.
The first step is to format your SD card. We use SD Formatter from SDCard.org. It’s free and easy.
While waiting for the card to format, you can download a RetroPie image from their website. They have different builds for different versions of the Raspberry Pi. Since we are using a Raspberry Pi 3, we’ll need this file.
Next, we need to install that operating system image onto the SD Card. There are a variety of tools that can do it very easily. We prefer Apple Pi Baker (if you are on a Mac). Here are some additional instructions for users of other operating systems. The software is all free or donate-ware.
Once your SD Card is done with writing the image, you just transfer it to the Raspberry Pi and plug everything in. Plug the joystick into an available USB port on the Pi. Plug the power cord into the Pi and watch the bootup.
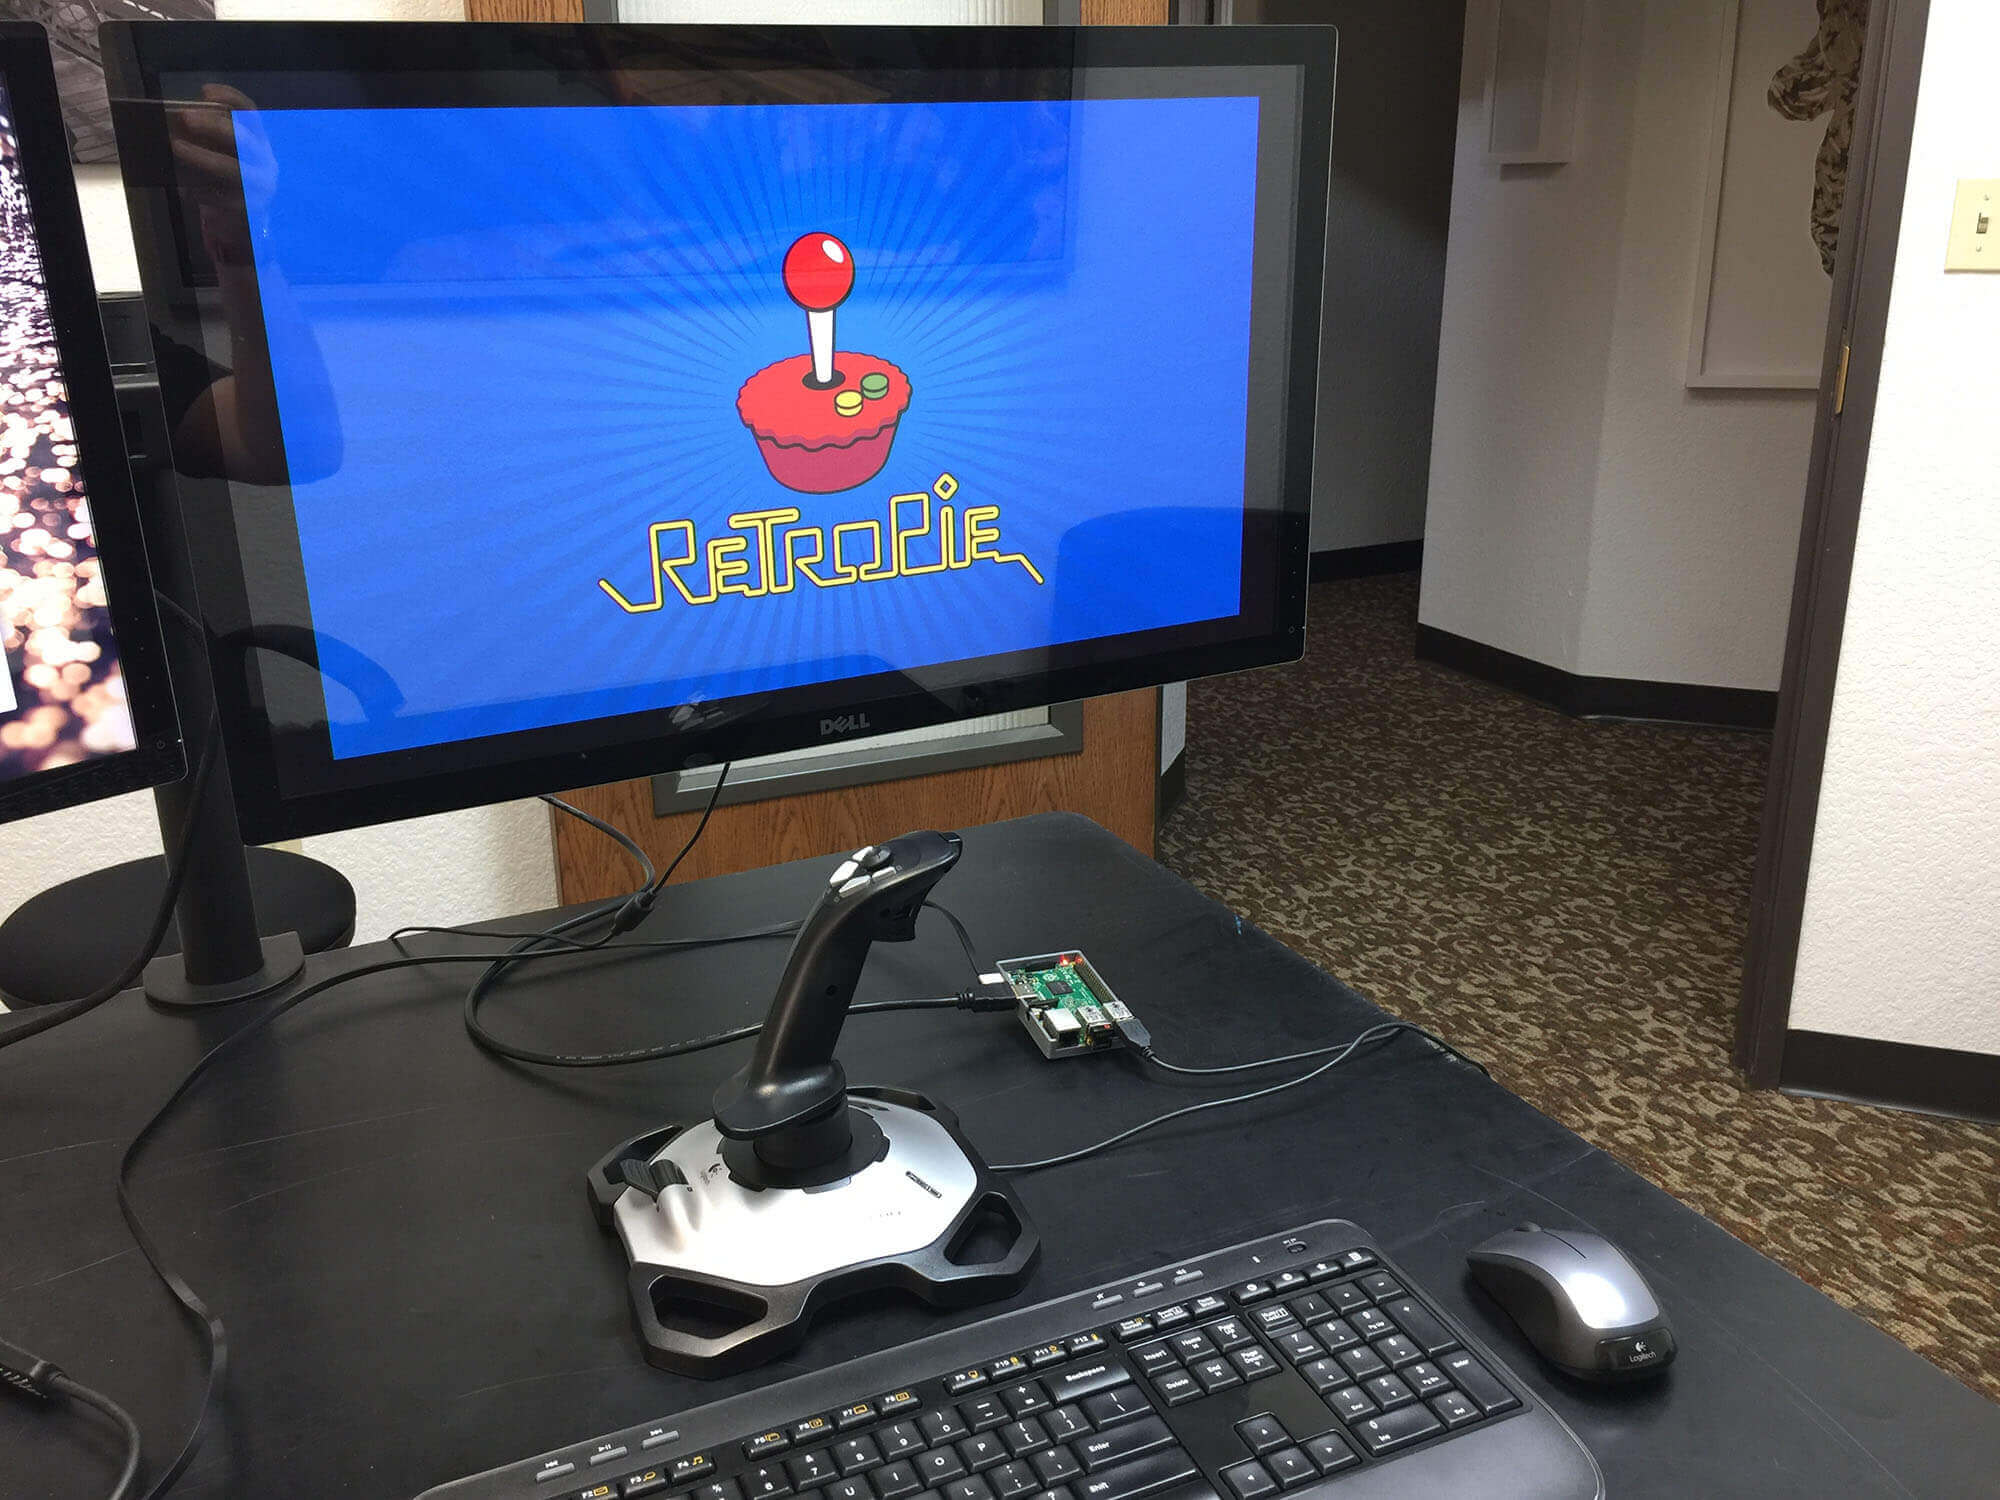
You’ll see the RetroPie logo and several “matrix-y” command line bootup texts. Once it’s all loaded, you’ll see this Welcome screen.
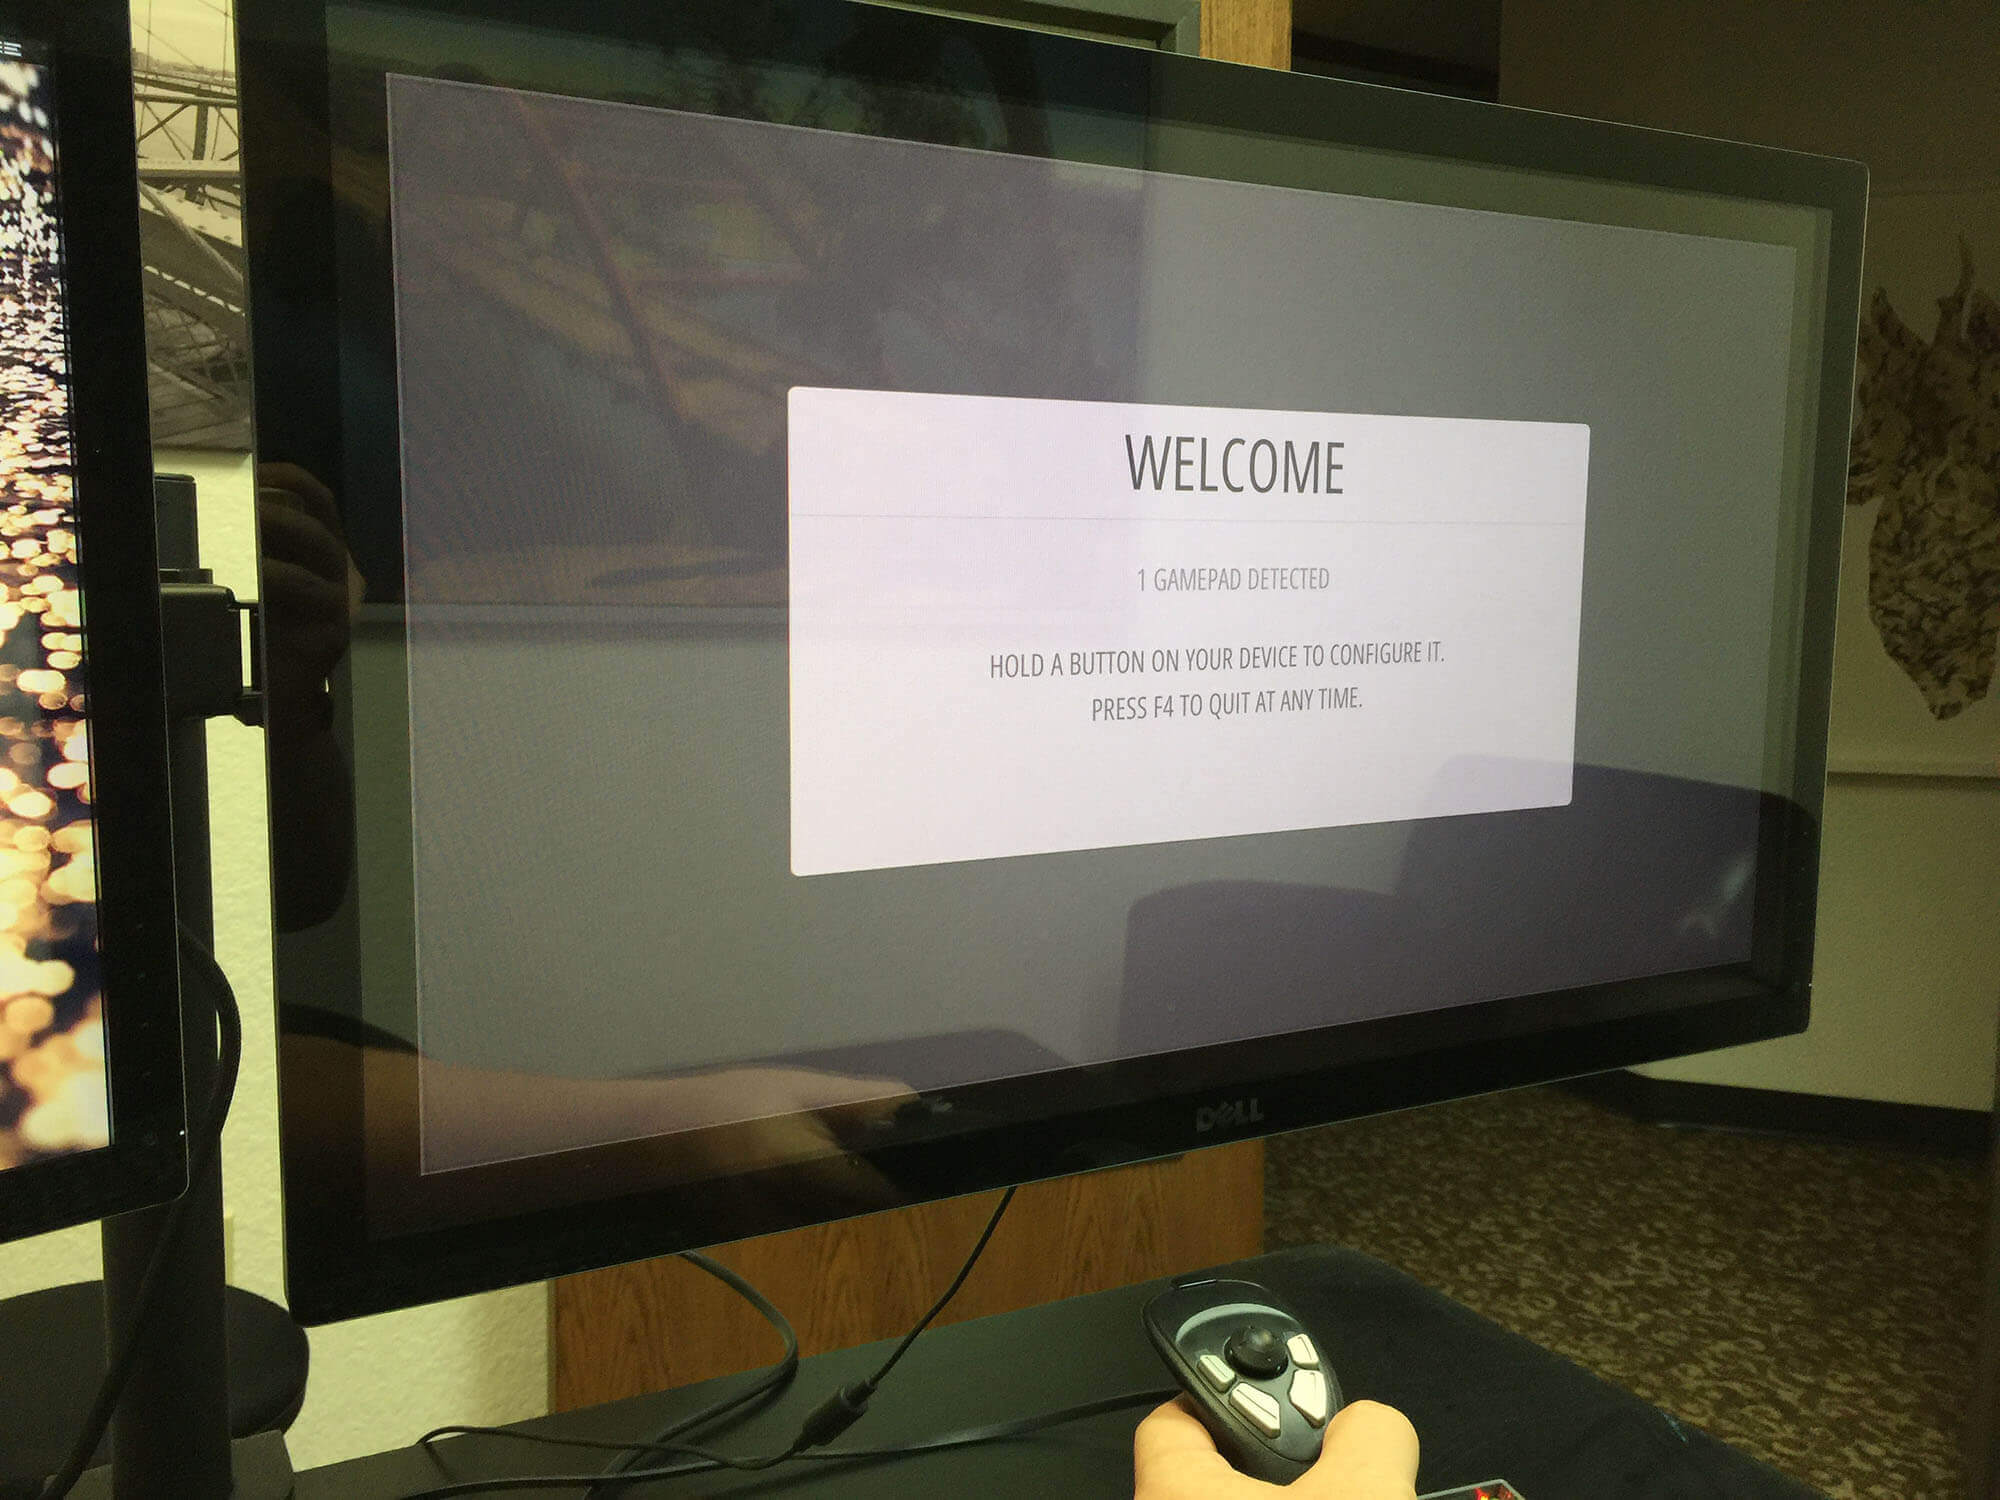
It will automatically detect the presence of your joystick and follow the onscreen instructions to set up the button configuration. We map the larger x and y-axis of the joystick to the analog D-pad and then the thumb pad to the left joystick. This allows you to both move your legs and then move your field of vision at the same time with just one hand.
On the main menu, move the joystick left and right to cycle between the menus. Select the PORTS menu.
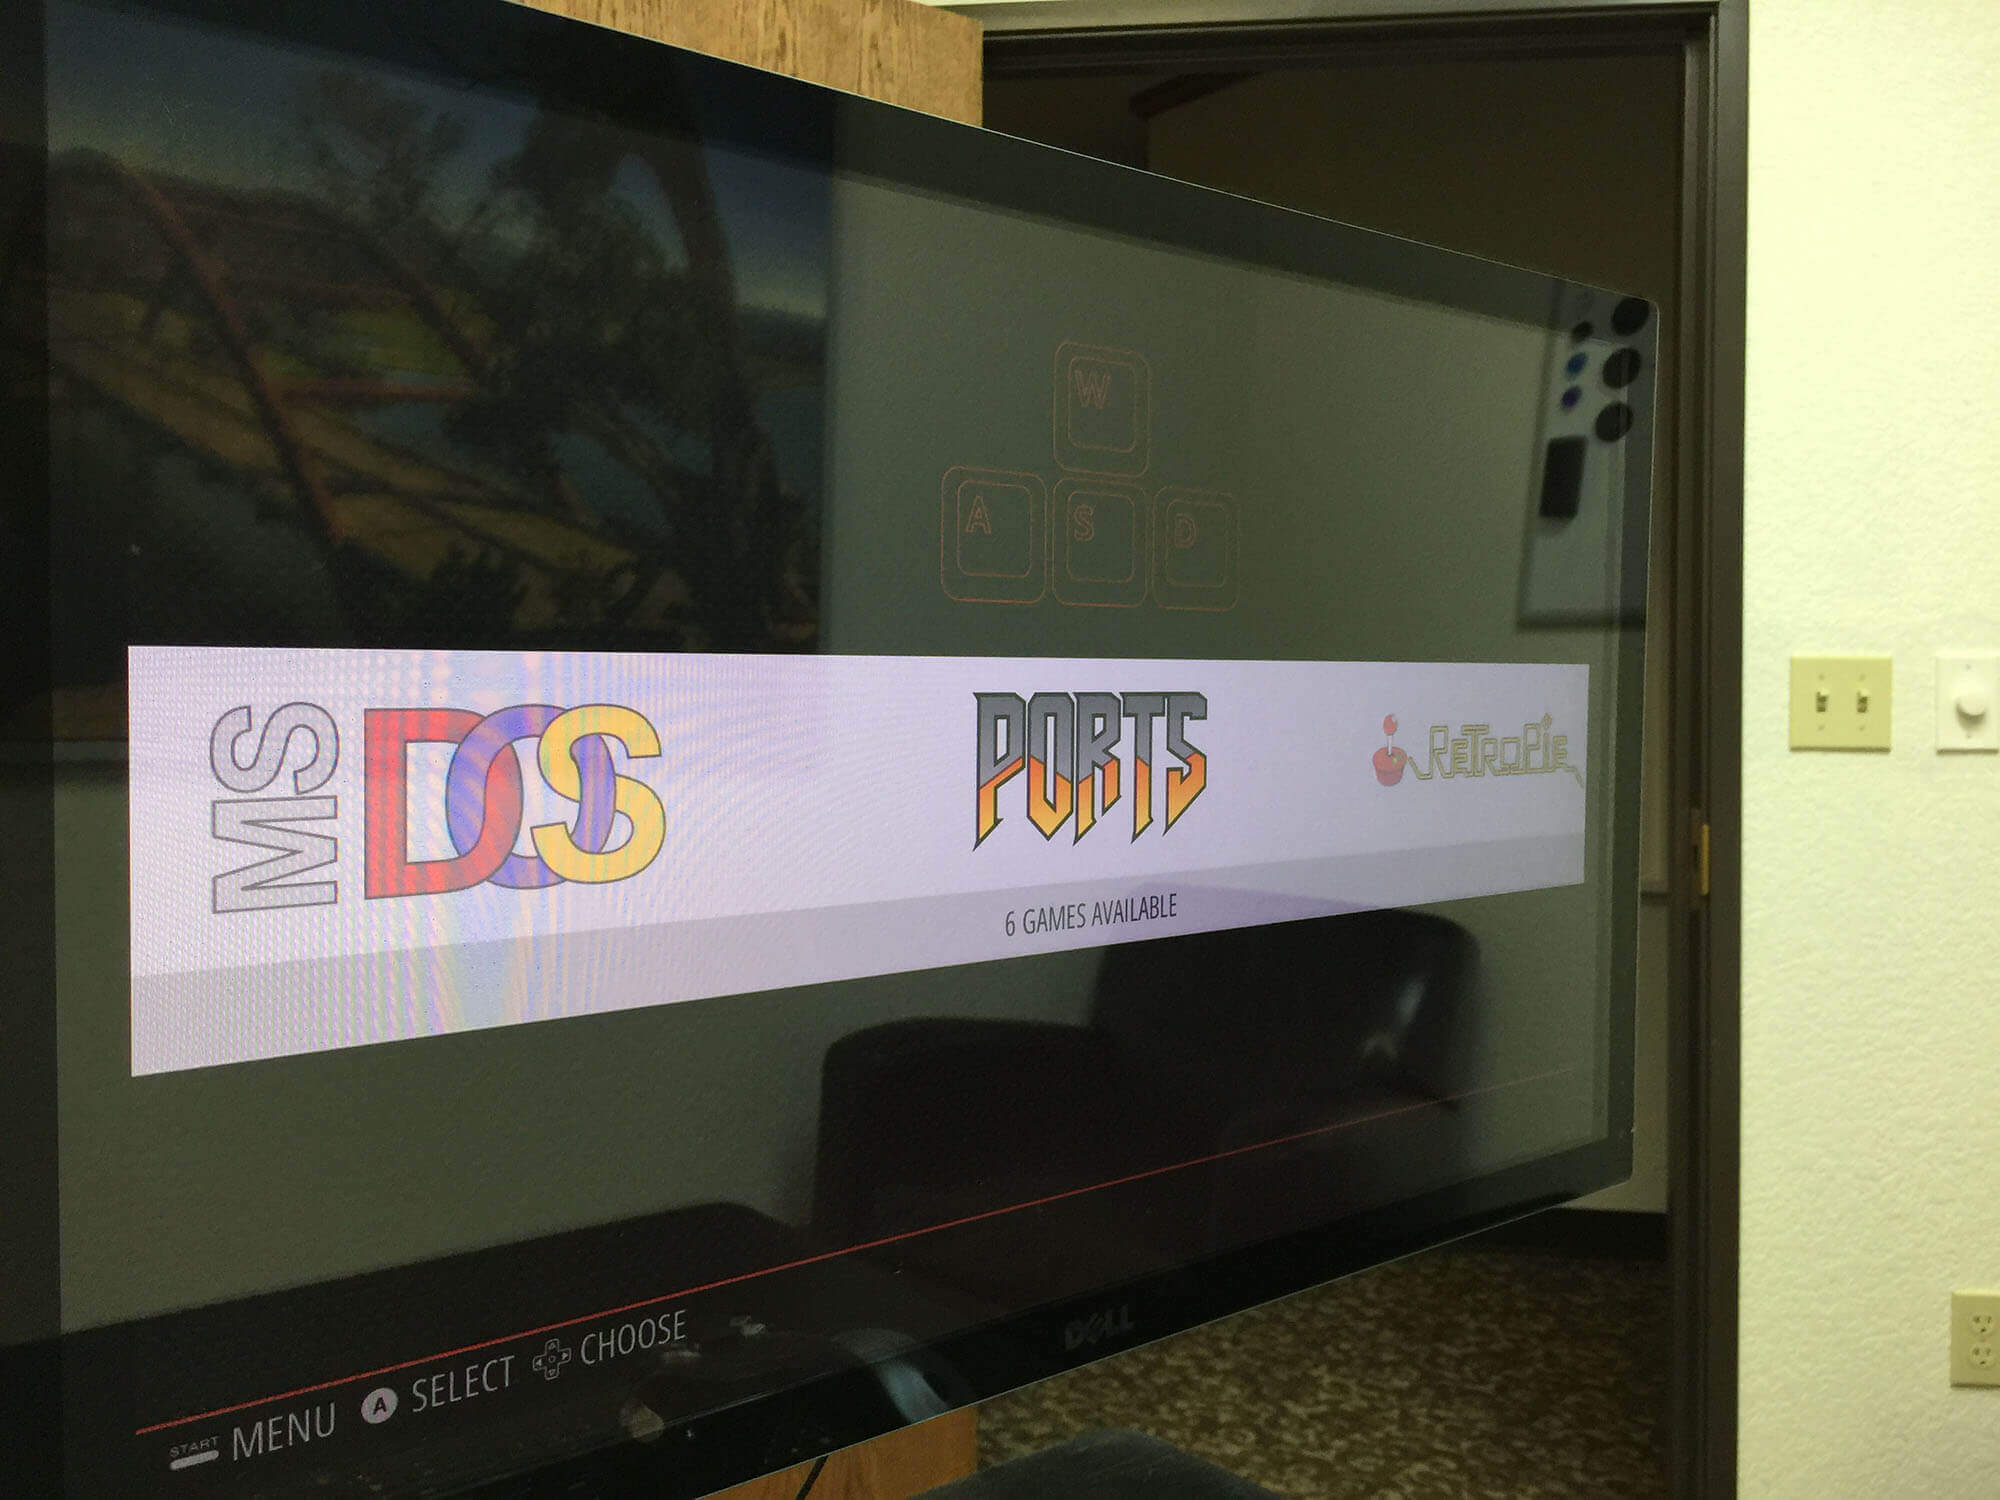
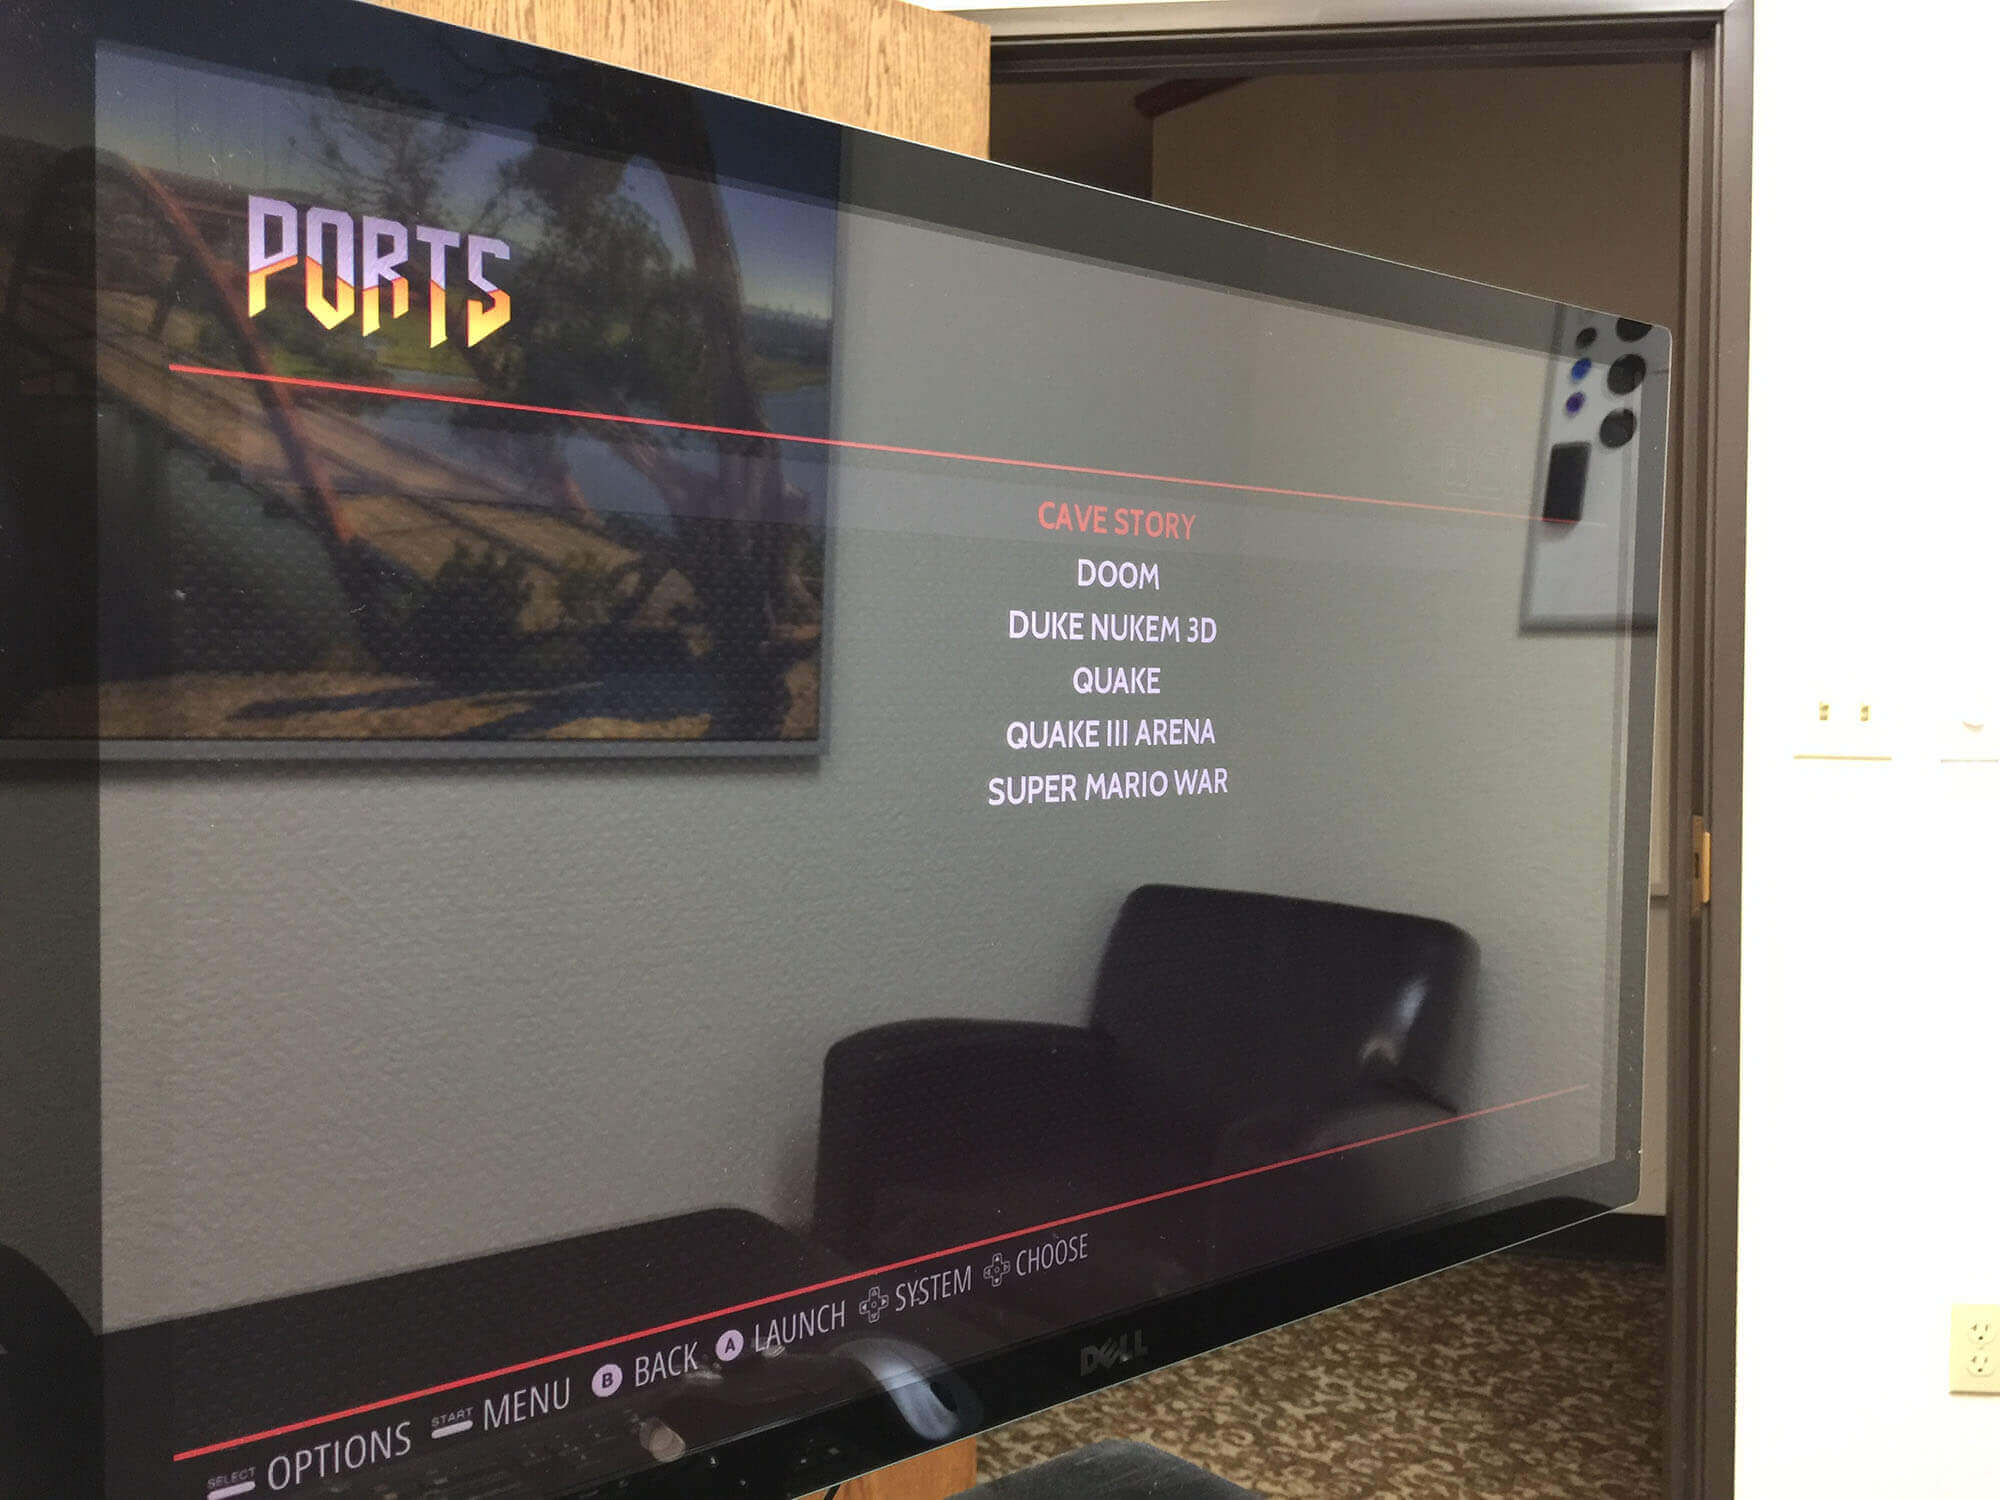
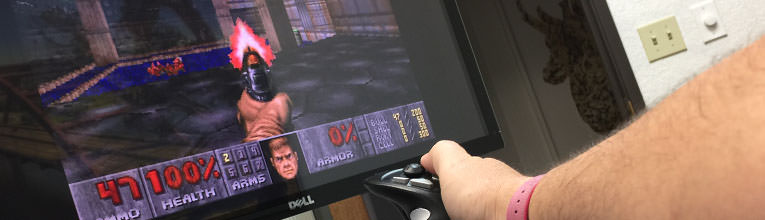
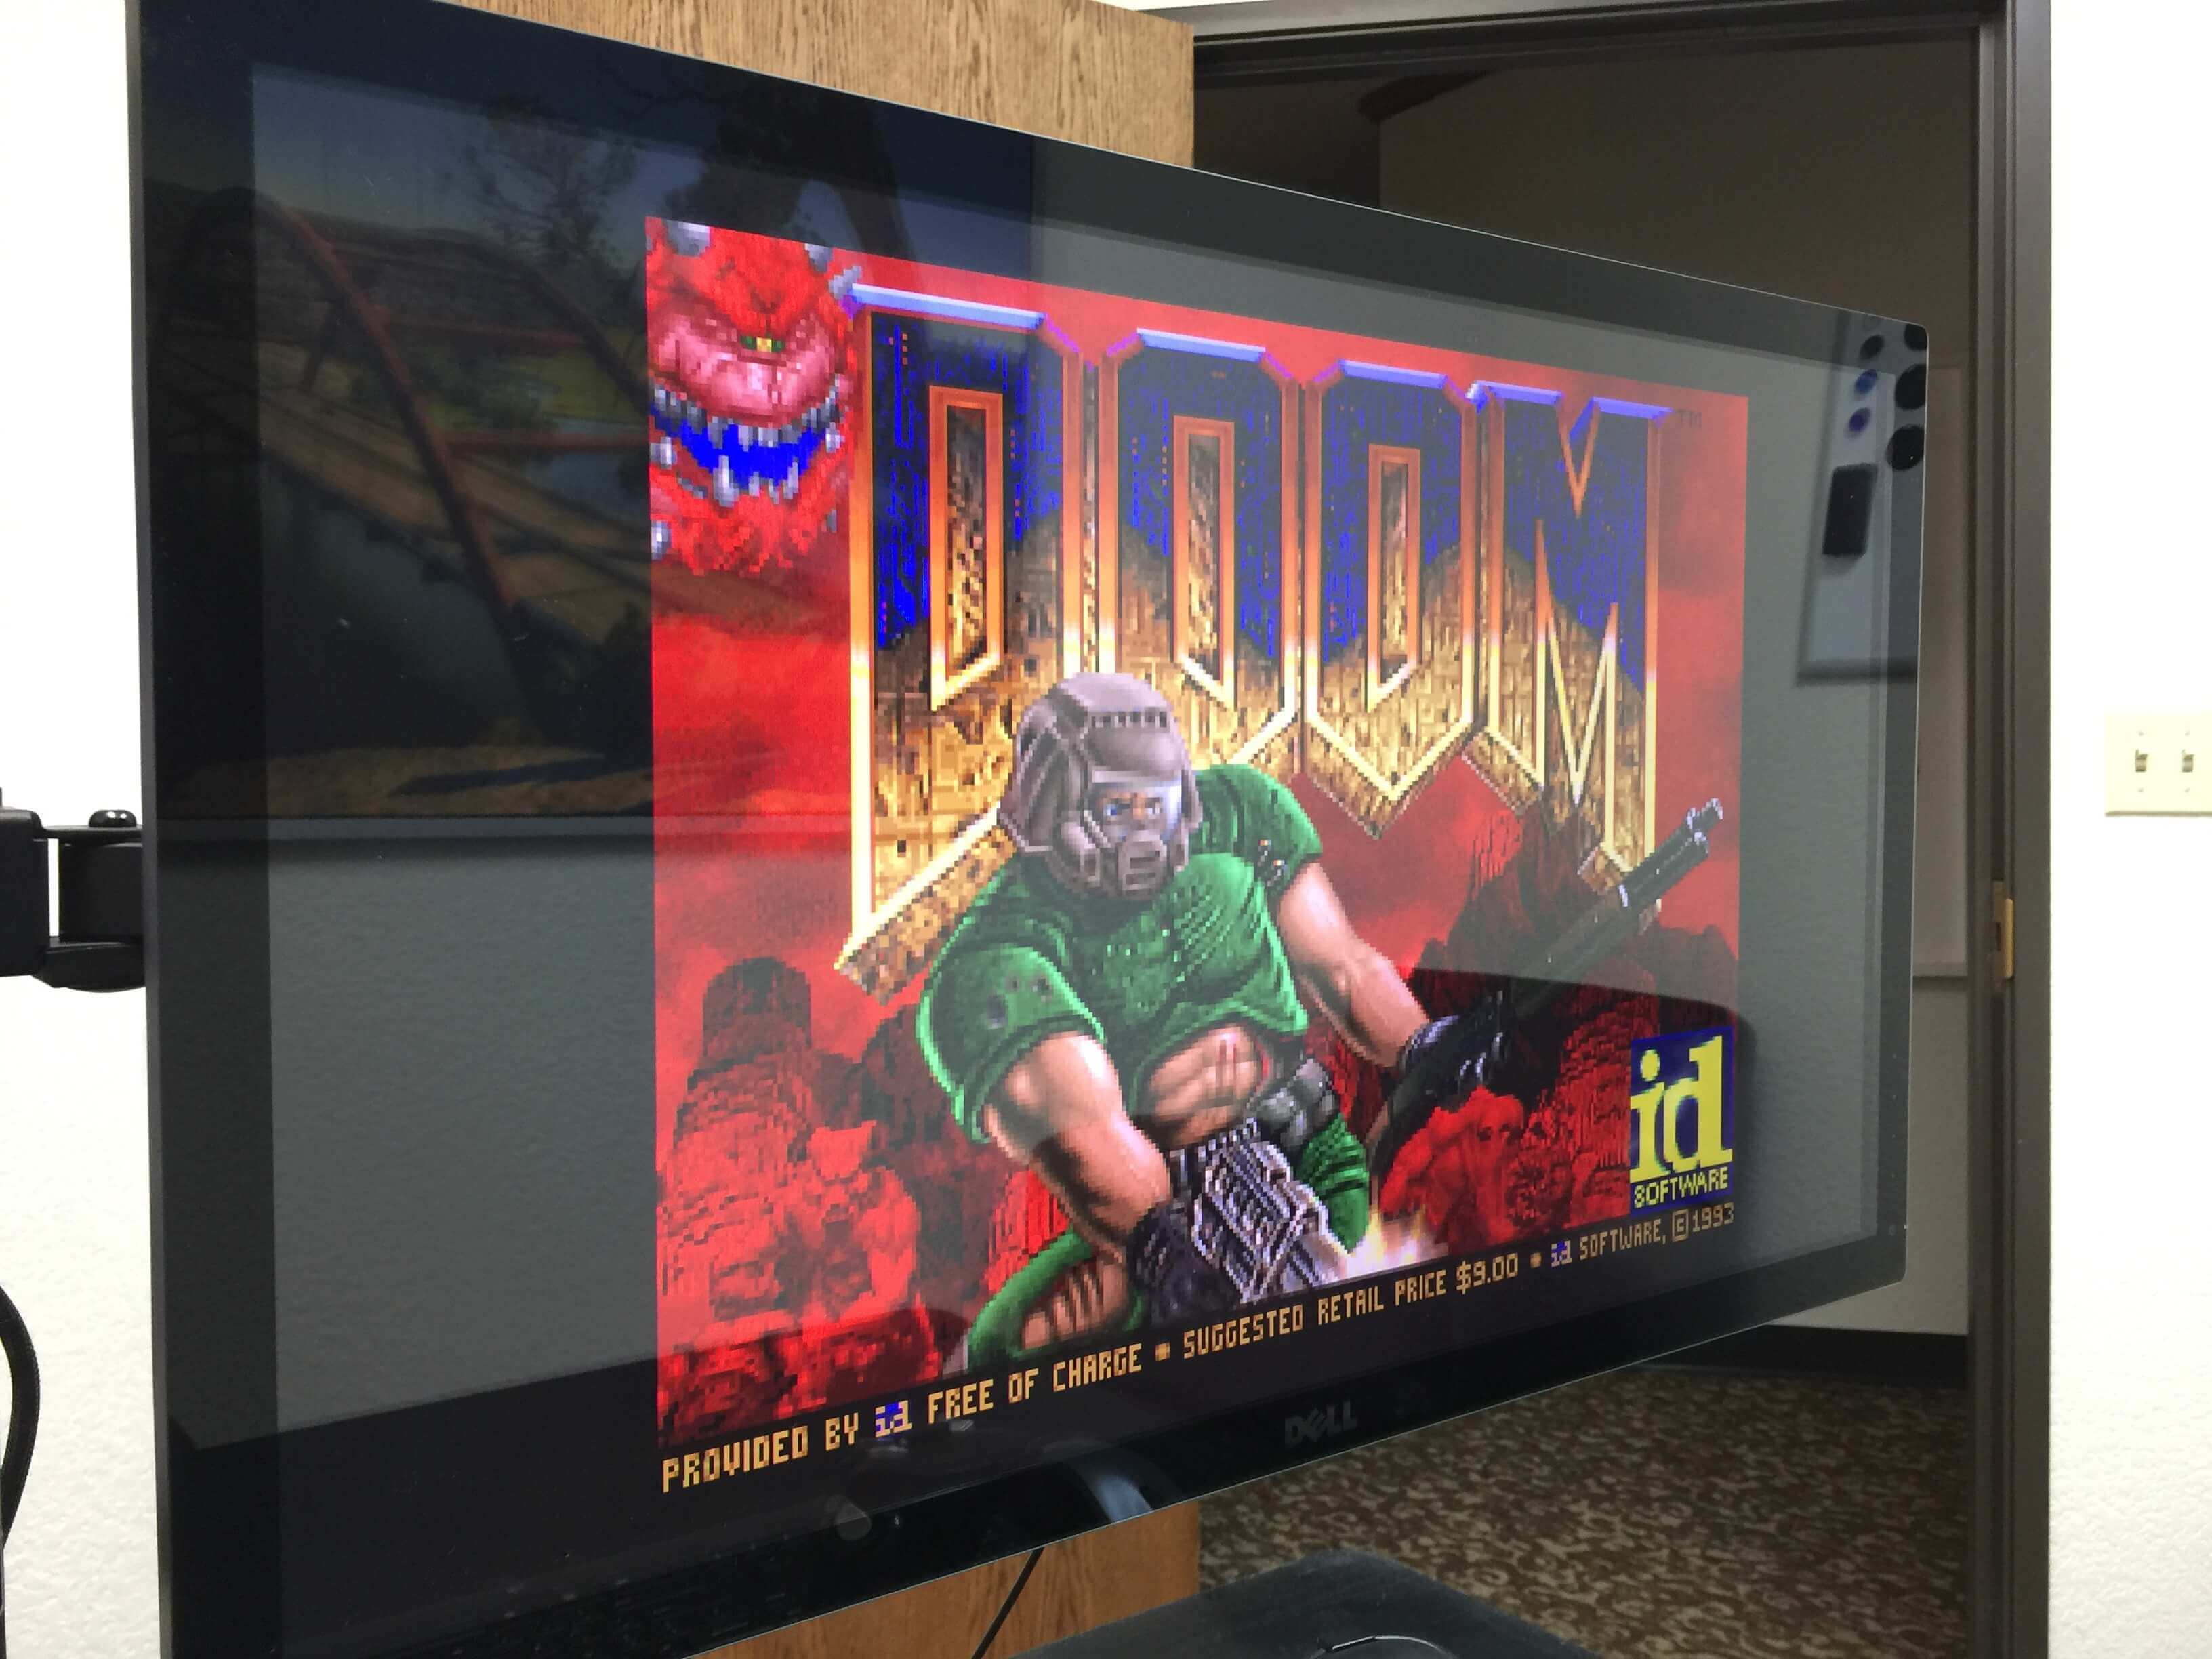
Load up Doom and enjoy! One handed retro fun.
Additional games can be downloaded through ROM searches and reading through the stellar RetroPie help documentation.
FOOTNOTE: You don’t have to use a Raspberry Pi 3 or 4. You can make this all work with a first or second generation Pi. We also included a photo of a USB wifi chip but you don’t need the internet to make this game machine work once the image has been burned onto the SD card. Everything is self contained.
Q2 2026 Highlights - A Look Back at the Second Quarter
A ballgame, a surgery, and a scooter tour of Austin. Q2 2026 in pictures.
Q1 2026 Highlights - A Look Back at the First Quarter
Chicago in January, SXSW in March, and everything in between. The first quarter of 2026 in pictures.
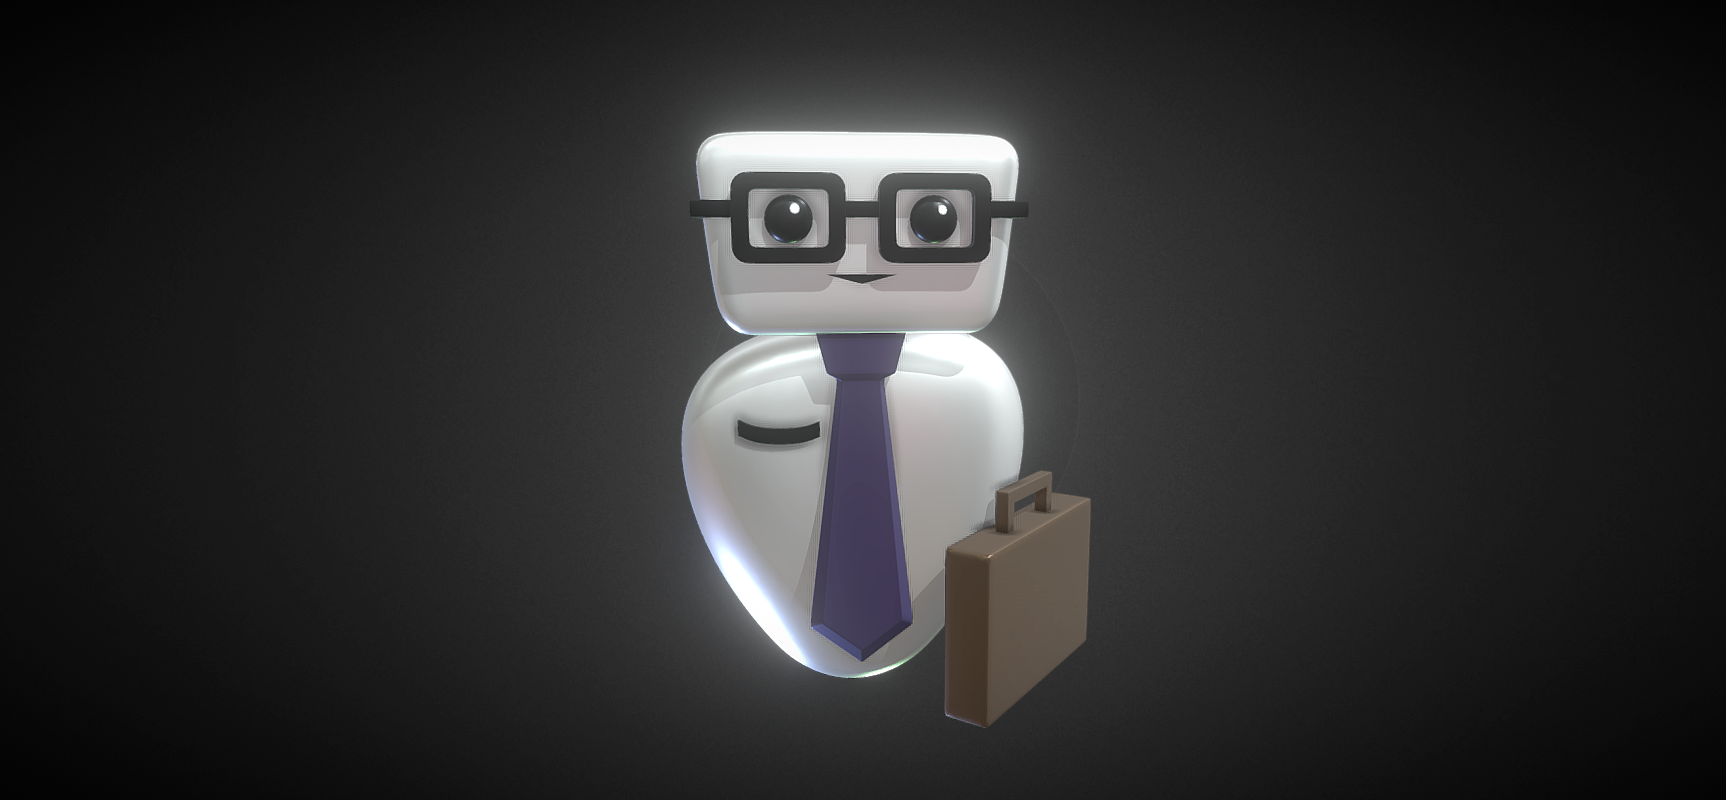
LawBot 3D Model
I really liked the cartoon logo for iDisclose and their LawBot identity. Having the privilege to work with them years ago on a website and an explainer video, it was fun to work on taking their 2D character and bringing it into 3D.
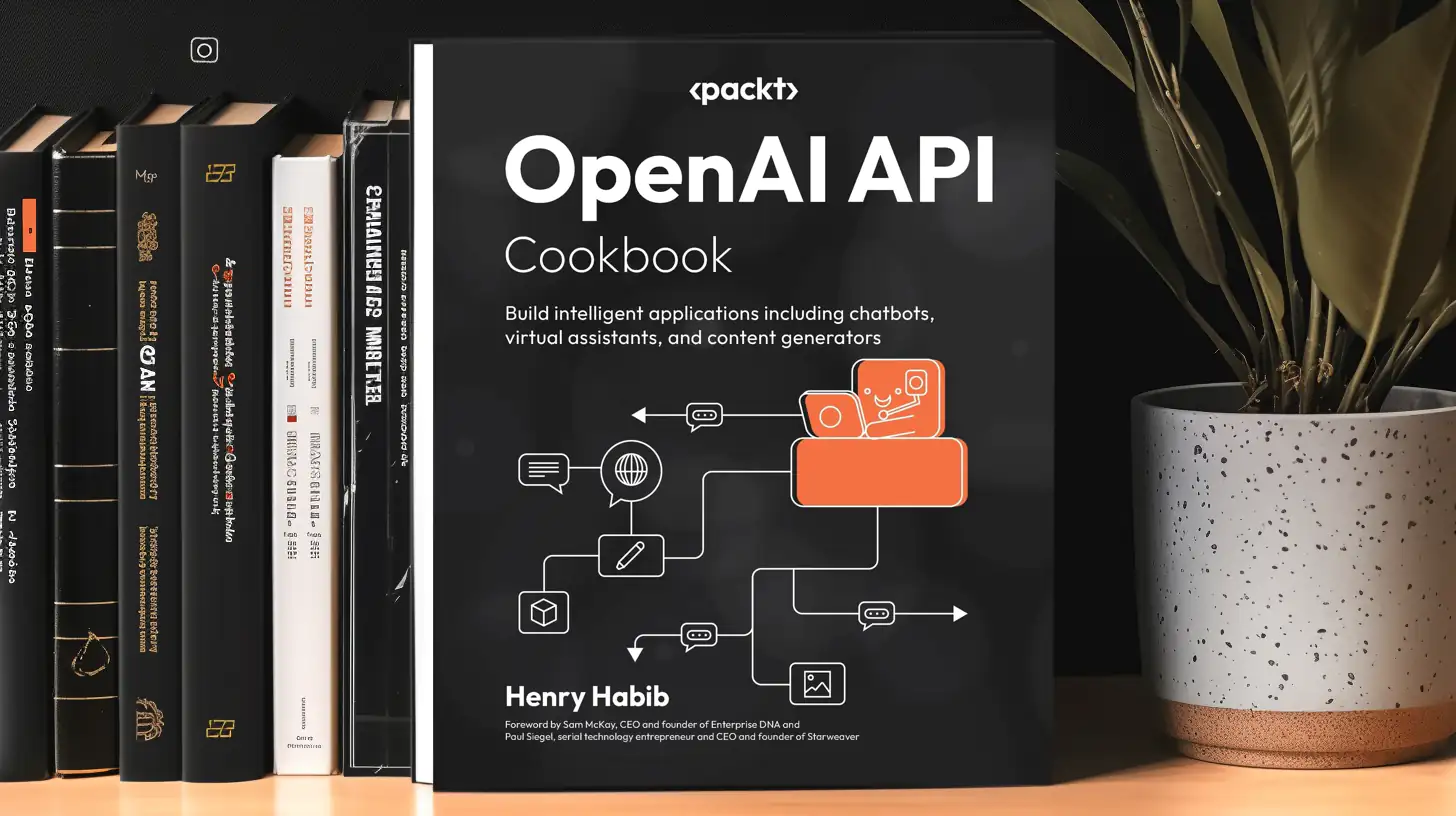
My AI Review of OpenAI API Cookbook
At the beginning of the year I was lucky enough to get a review copy of this book. It was a great primer on how to get the best out of the OpenAI APIs.
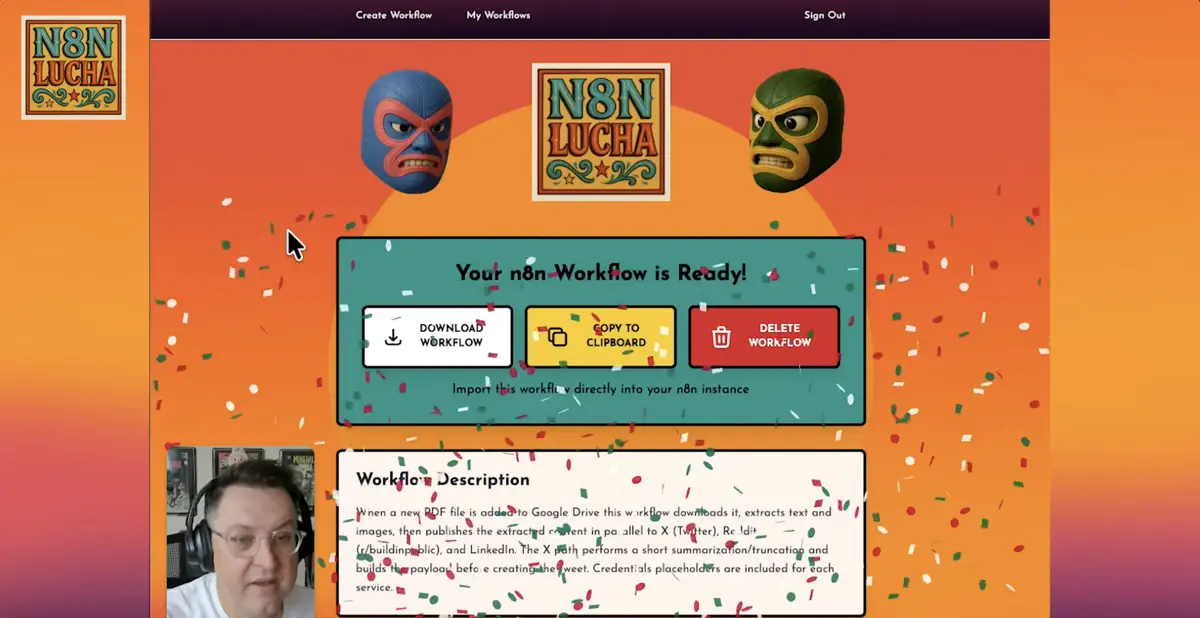
AI-Powered n8n Workflow Builder
A tool that converts screenshots of n8n workflows into working JSON files you can import directly into n8n, bridging visual inspiration and runnable automation.